
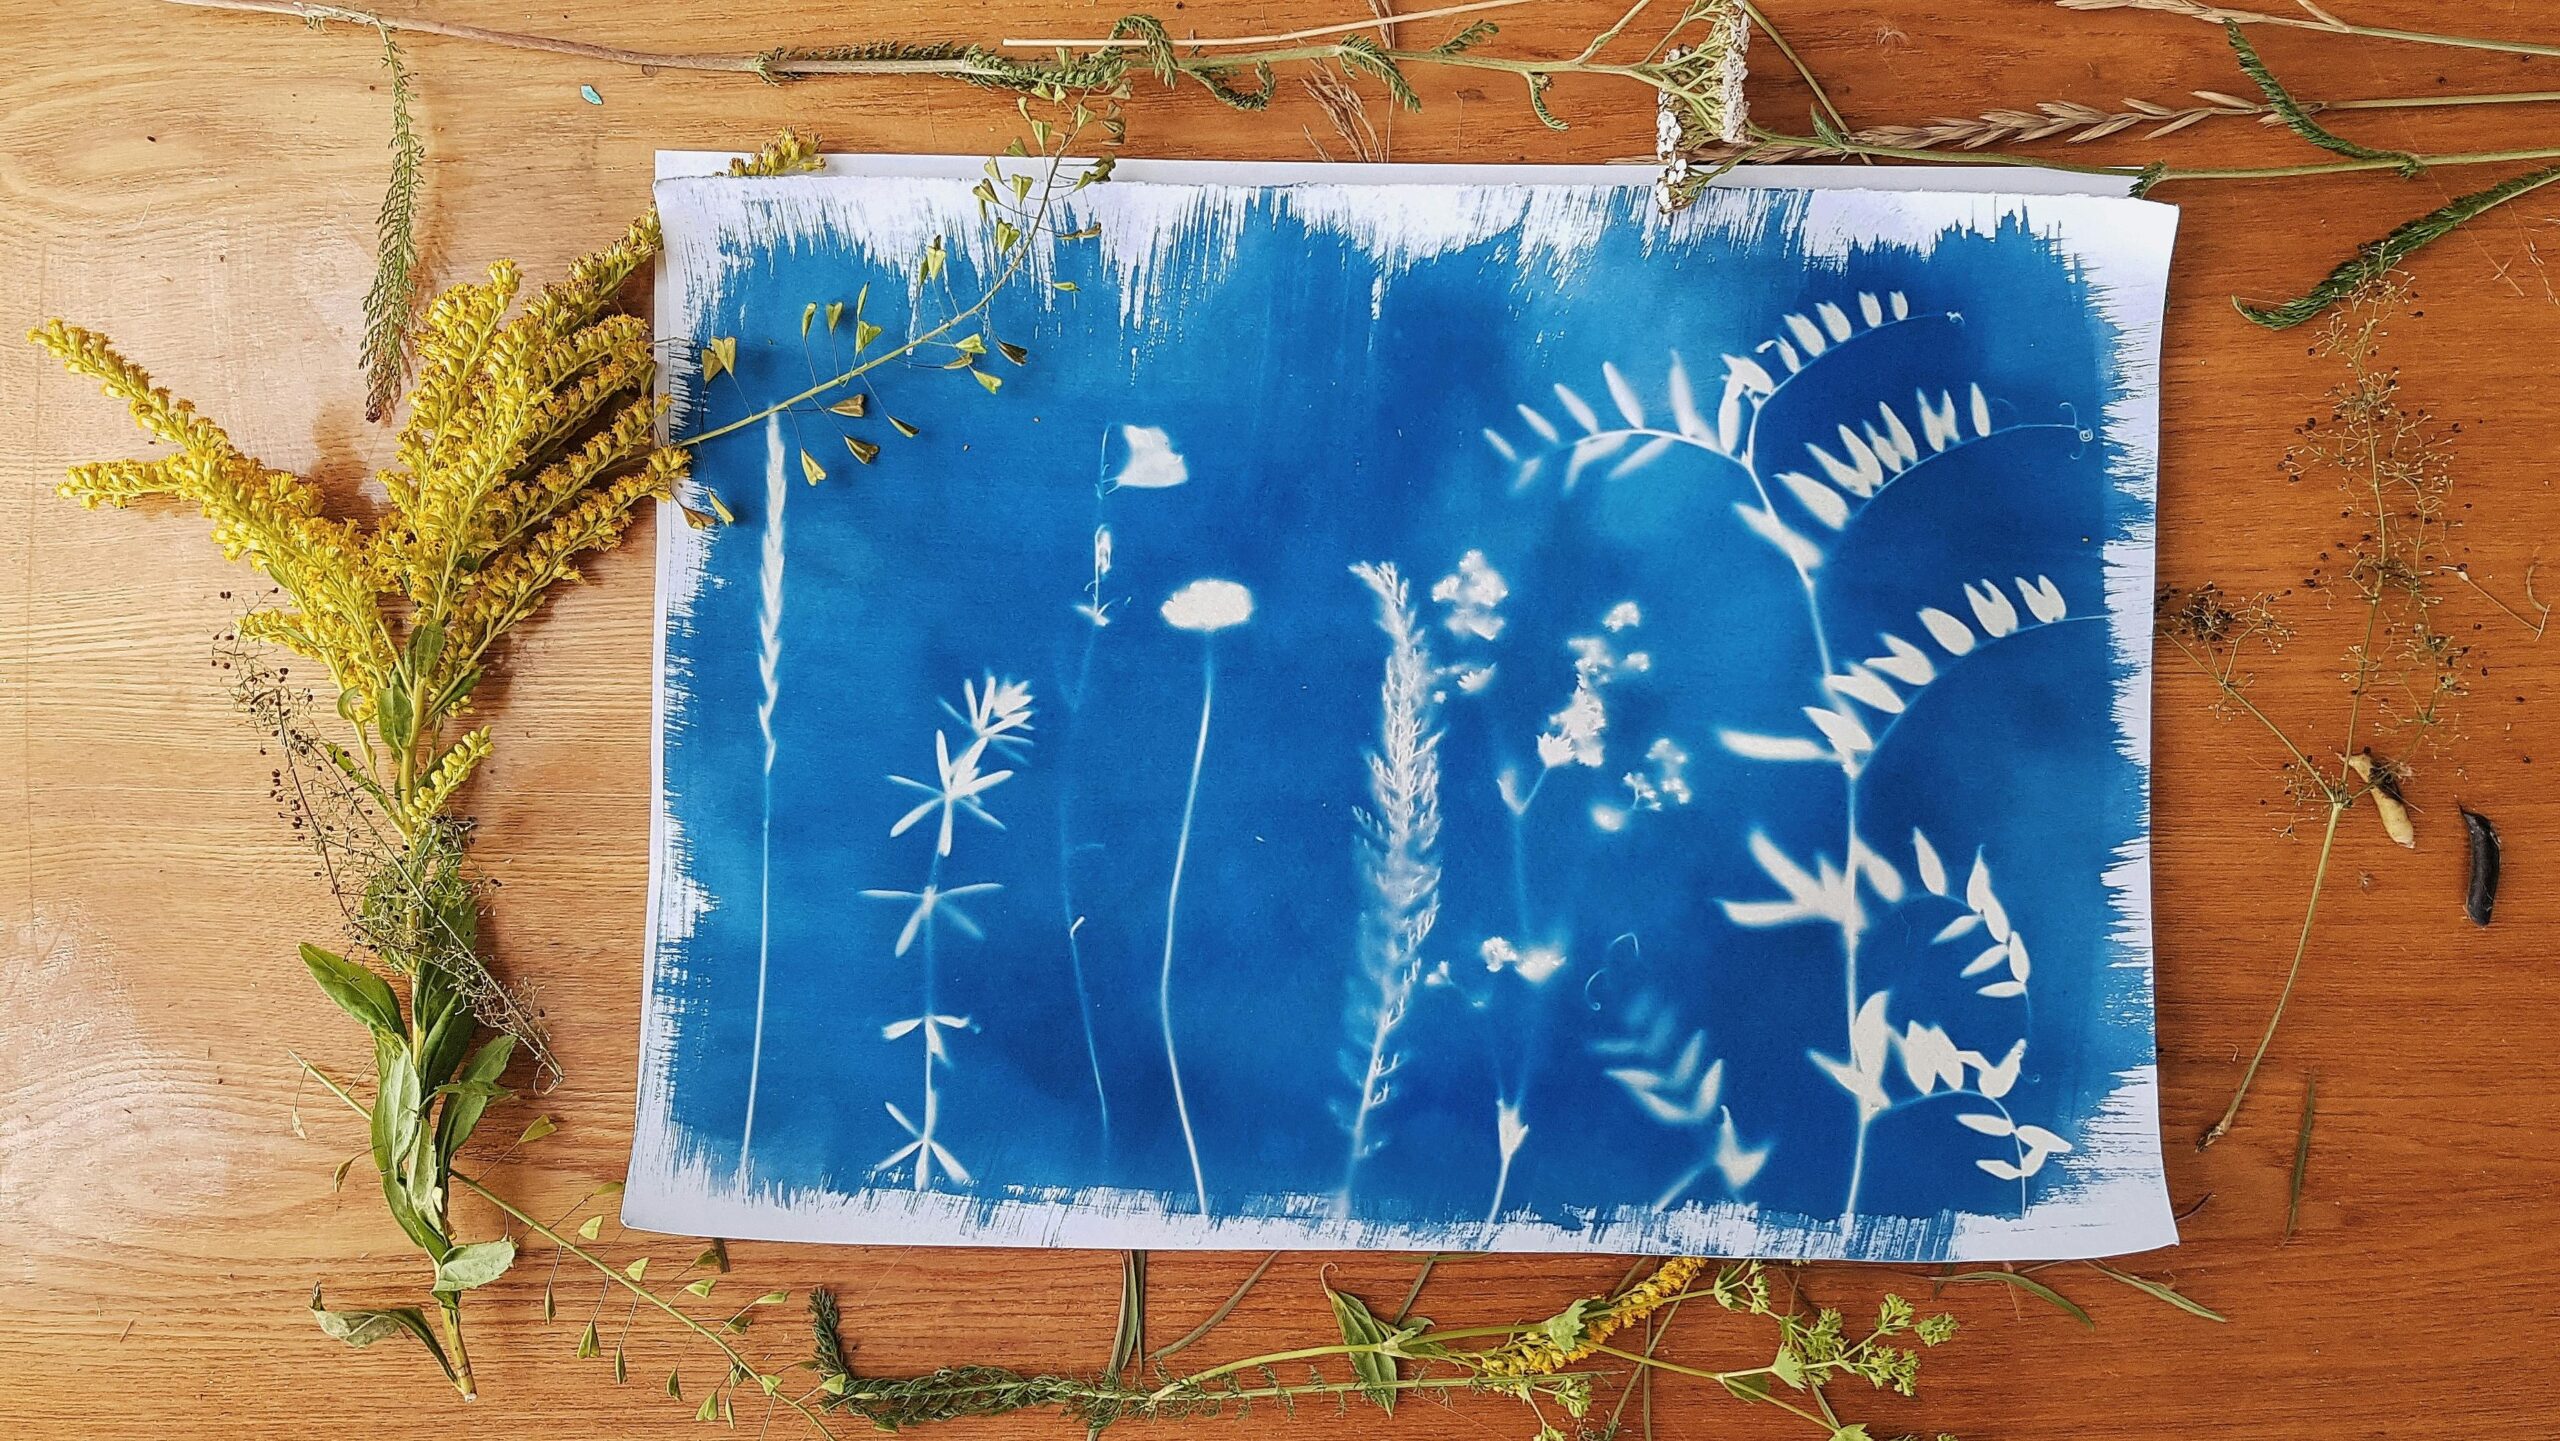
Cyanotype journaling is the breakout craft of 2024 for creative crafters, art journalers, and nature-lovers who want to make unique, archival-quality sun prints directly in their journals—without needing fancy equipment or a darkroom.
Key Takeaways
- Cyanotype journaling is a simple, low-tech method for making botanical sun prints that’s exploded in popularity thanks to social media and affordable starter kits.
- Getting crisp, vivid results that last requires the right paper, chemical mix, and key steps other guides often miss—especially for journal use.
- Handling chemicals and exposure safely, plus understanding advanced tricks like toning and storage, is crucial for archival results in your nature print journaling.
- Why Cyanotype Journaling is Trending in 2024–2025
- How to Make Cyanotype Prints for Your Journal—Step-by-Step
- Advanced Analysis & Common Pitfalls
- Conclusion
- FAQ
Why Cyanotype Journaling is Trending in 2024–2025
Cyanotype journaling, also called sun printing for journal pages, is everywhere right now—especially on Instagram and TikTok. Each month, thousands of creators share their blue-and-white botanical spreads, inspiring both teens and adults to try nature print journaling as a relaxing, screen-free hobby. The biggest draw is how accessible this process is: you don’t need darkroom equipment, a printer, or expensive supplies, just sunlight and some basic chemistry. As a result, craft store shelves are now loaded with small-batch starter kits and pre-sensitized papers, making it easier than ever to start.
Key stats: “Instagram and TikTok creators post thousands of sun print spreads each month, with small-batch starter kits dominating craft store shelves.” [Source]
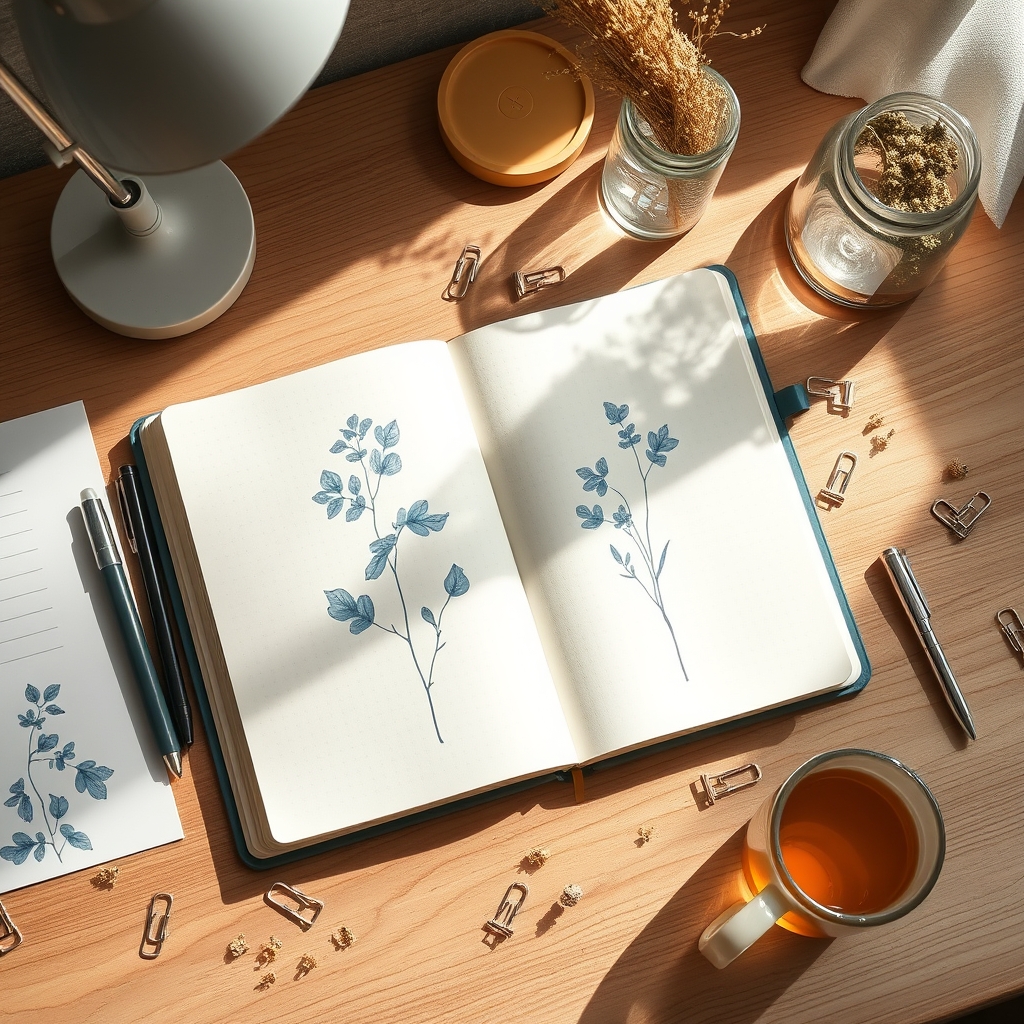
This rise is also fueled by the uniquely tactile results: vivid blue leaf silhouettes, ferns, and wildflowers pressed directly onto journal pages—a look no app or printer filter can match.
For more on creative journaling trends—such as the eco-friendly boom in plantable seed paper journaling—see our in-depth guides.
How to Make Cyanotype Prints for Your Journal—Step-by-Step
Here’s a realistic, foolproof roadmap to make your first botanical contact print journal—without skipping the steps that matter for vivid, archival results.
1. Gather Supplies & Understand Costs
- Starter cyanotype kit: Includes two chemical bottles (ferric ammonium citrate and potassium ferricyanide), foam or hake brush, and UV-exposure app guide. Kits range from $25–$40 and are widely available on Amazon, Etsy, and art stores.
- hot-press watercolor paper: Use hot-press watercolor paper for best results in journals. It’s smooth, resists bleed, and holds details well. Expect $1.20–$2.00 per sheet high quality (source), or bulk cold-press as low as $0.90.
- Other essentials: Distilled water, nitrile gloves, dust mask (for chemistry), plexiglass or a clean picture frame (for pressing botanicals), two dark trays (for rinsing), and unbuffered archival tissue (for storage).
Pro tip: You can also cut sheets to size for custom journal inserts or build up a collection for a junk journal project.
2. Mix Chemicals and Prepare the Paper (Classic Recipe)
- In low light, mix Solution A: 25g ferric ammonium citrate per 100ml distilled water.
- Mix Solution B: 10g potassium ferricyanide per 100ml distilled water.
- Combine equal parts A and B (only enough for immediate use) in a small cup. This “sensitizer” lasts just a day or two refrigerated.
- Coat your flattened, pre-cut hot-press watercolor paper with a foam brush. Use a thin, even layer—no puddles or streaks.
- Let the paper dry flat in absolute darkness (inside a closed notebook or under a black garbage bag) for 30–60 minutes. Don’t rush this step, as uneven coating is the #1 source of failed prints. (source)
3. Arrange Botanicals and Expose
- In dim light, arrange flat, dry leaves and flowers on your prepared cyanotype paper.
- Sandwich with a clean, clear sheet of glass for perfect contact.
- Expose outside in full midday sun (5–10 minutes is standard) or under a 365nm UV lamp (10–20 minutes). Use a free UV-meter app or visual “test strip” to dial in perfect exposure—if the paper turns pale or bronze, it’s done.
- Be ready: wind will blow botanicals away or cause blurry edges. Weight the glass with stones if printing outside.
4. Rinse, Dry, and Mount
- Immediately after exposure, rinse the print in running cold water (5–10 minutes) until the runoff is absolutely clear. Rotate gently—don’t touch the image surface.
- Lay flat on paper towels or hang by the edges in total darkness. Complete drying can take overnight or up to 24 hours for thick papers.
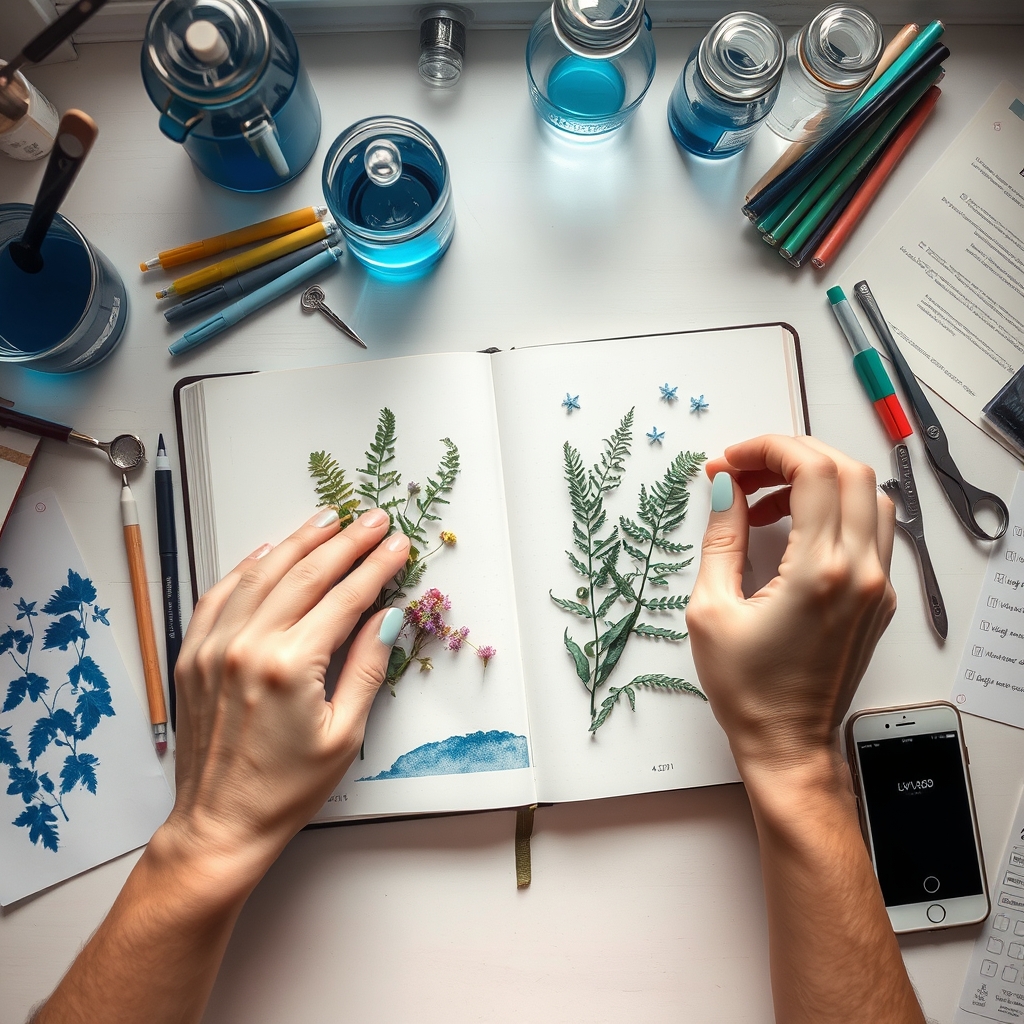
- Once totally dry and flat, mount directly into your journal with pH-neutral glue or fix behind an archival sleeve.
For deeper technique breakdowns, see our guides on solarpunk journal aesthetics and maximalist layering, both of which pair well with cyanotype accents.
5. Safety and Cleanup
- Wear gloves and a dust mask when mixing dry chemicals. Always work in a ventilated room (open window or exhaust fan).
- Clean all utensils, surfaces, and spills immediately with soap and water. Never pour unused chemicals down the drain; follow local hazardous waste guidelines.
For inspiration and ready-to-go kits, check trending products on Amazon and Etsy. Most packs are updated monthly and offer significant bulk discounts.
Advanced Analysis & Common Pitfalls
Even solid guides overlook key issues that can make or break your botanical contact print journal. Here’s what to expect, and how to fix it:
| Problem | Why It Happens | How to Fix |
|---|---|---|
| Uneven coating / light streaks | Too much or too little sensitizer, rushed drying, pooling at edges | Always use a foam brush, apply extra thin, flat layer, dry in complete darkness 60 min |
| Washed-out or muddy print | Improper exposure—too short (pale), too long (blocked shadows), cloudy day underestimated | Use visual test strips, a handheld UV meter, and adjust for clouds; err on the side of slight overexposure |
| Chemical stains / yellow areas | Poor rinsing, handling with bare hands, chemical splash | Rinse at least 5–10 minutes, wear gloves, avoid touching surface at all stages |
| Fading or color shifting | Exposure to buffered paper, sunlight, humidity | Store between unbuffered archival tissue, use UV-safe glass, keep in dark dry storage |
| Warped journal pages | Poor flattening, thin paper, excess water dry-down | Pre-wet and flatten before coating, use hot-press ≥190gsm, flatten again between heavy books after final dry |
For comparison, see how cyanotype paper crafts differ from more traditional bullet journals for beginners—the learning curve here is mostly about chemistry and UV timing, not calligraphy or drawing.
Advanced Techniques for Archival Results
- Toning with Tea/Coffee: Soak prints in strong black tea or coffee after final rinse for 10–30 minutes for sepia or turquoise tones. Rinse well and dry as usual.
- Storage: Sandwich finished prints in unbuffered, acid-free sleeves. Avoid plastic and regular copy paper. For mounted journal pages, use a journal made with unbuffered, archival paper or protective interleaving.
- Display: If framing, use UV-protected glass and hang away from direct sun and high humidity.
“Prints rapidly fade if stored with buffered materials…prevented by sandwiching between unbuffered archival tissue, using UV-protected glass, and keeping in a dark, low-humidity drawer.” (source)
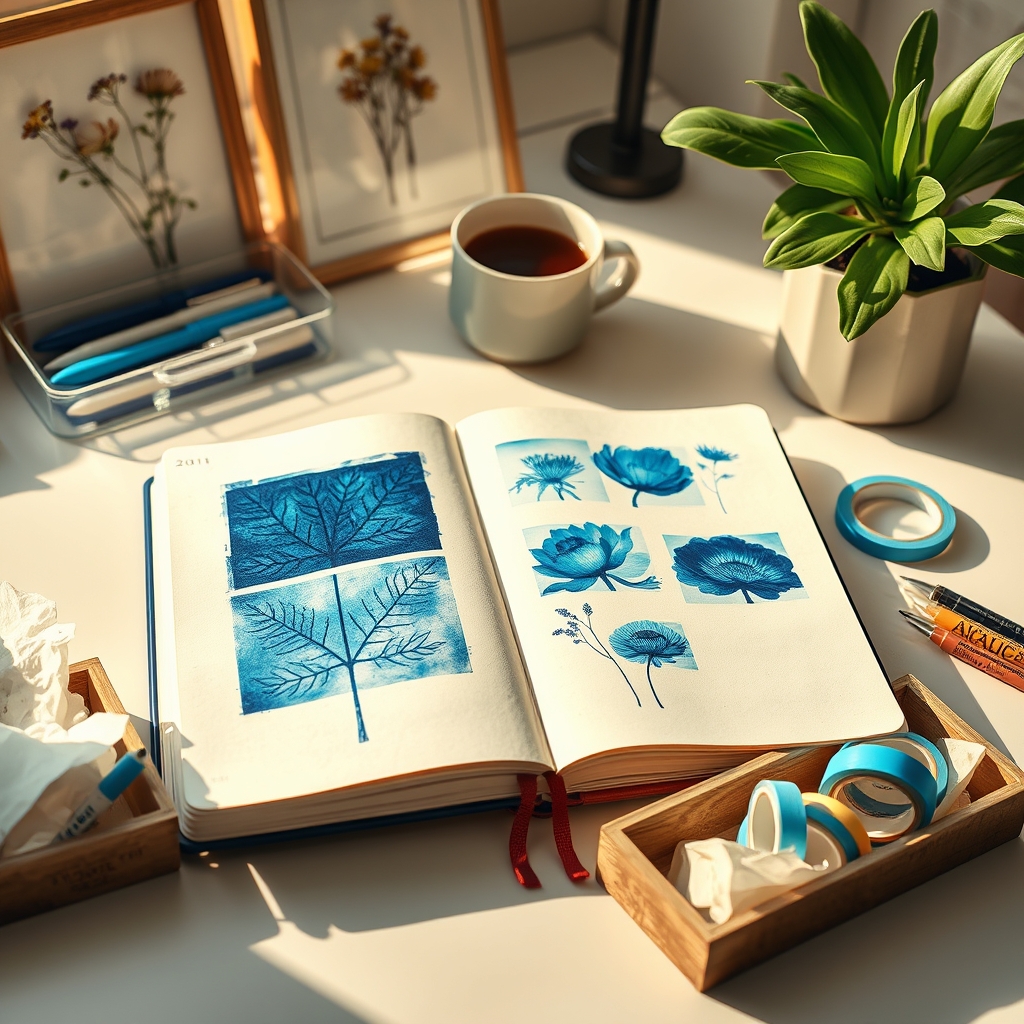
Other overlooked steps: Don’t ignore paper quality—hot-press watercolor is simply better for solar print stationery. And never store mixed sensitizer solutions for more than 3 days even in the fridge—they turn unstable and give weak, uneven results.
For journaling alternatives that involve less chemistry, check out the AI journaling app guide for private, digital nature documentation.
Conclusion
Cyanotype journaling isn’t just another trend—it’s a rewarding, hands-on way to fuse nature, art, and memory in your book. You don’t need fancy labs or exotic tools, just the right materials, a careful process, and a bit of patience to get archival solar prints that last. If you want to take your cyanotype journaling further, use the troubleshooting and advanced toning tips above to skip the common frustrations and truly preserve your best nature prints for years to come. Start your own botanical contact print journal today and share your results—for more inspiration and supply finds, check our full guides on junk journal supplies and community picks for traveler’s notebook inserts.
Ready to create beautiful, archival sun prints in your journal? Gather your kit, try these steps, and share your pages with the world!
FAQ
What makes hot-press watercolor paper best for cyanotype journal pages?
Hot-press paper is smooth, resists warping, and takes chemical coatings evenly, giving sharp details and preventing fuzzy edges—especially important for glueing or binding in a journal.
Are cyanotype chemicals safe to use at home?
Yes, with proper care—always wear gloves and a mask while mixing, work in good ventilation, and clean up spills with soap and water. Keep chemicals away from children and pets. Dispose of leftovers through local hazardous waste programs.
Why did my blue print quickly fade?
Fading is usually from exposure to sunlight or contact with buffered/acidic paper. Store your prints between unbuffered archival tissue, or use UV-protective sleeves. Never display in direct sun for extended periods.
Can I use pressed leaves or dried flowers?
Absolutely. Pressed botanicals produce much crisper, more detailed prints than fresh, thick, or moist specimens. Dry and flatten leaves ahead to prevent water stains or blurred edges during exposure.
How can I add variety to my cyanotype pages?
Try toning your finished prints with tea, coffee, or copper sulfate for sepia or turquoise hues. You can also mask areas with cut paper, use lace or stencils, or do multiple exposures for layered effects.